

Spot the differences…
Now we know we’re going racing with 750 Motor Club in the Roadsports series, the first thing to do is read the technical regulations and the MSA’s “Blue Book” to understand everything the car and driver need to be eligible. There’s a huge jump between what safety equipment seems appropriate on a track day, and what you need for a race car. So we’d need a certified rollcage professionally installed. It’s best to start with the car as bare as possible, so another day of lightweighting was in order!

As before, everything that came out was weighed, and I do mean everything…
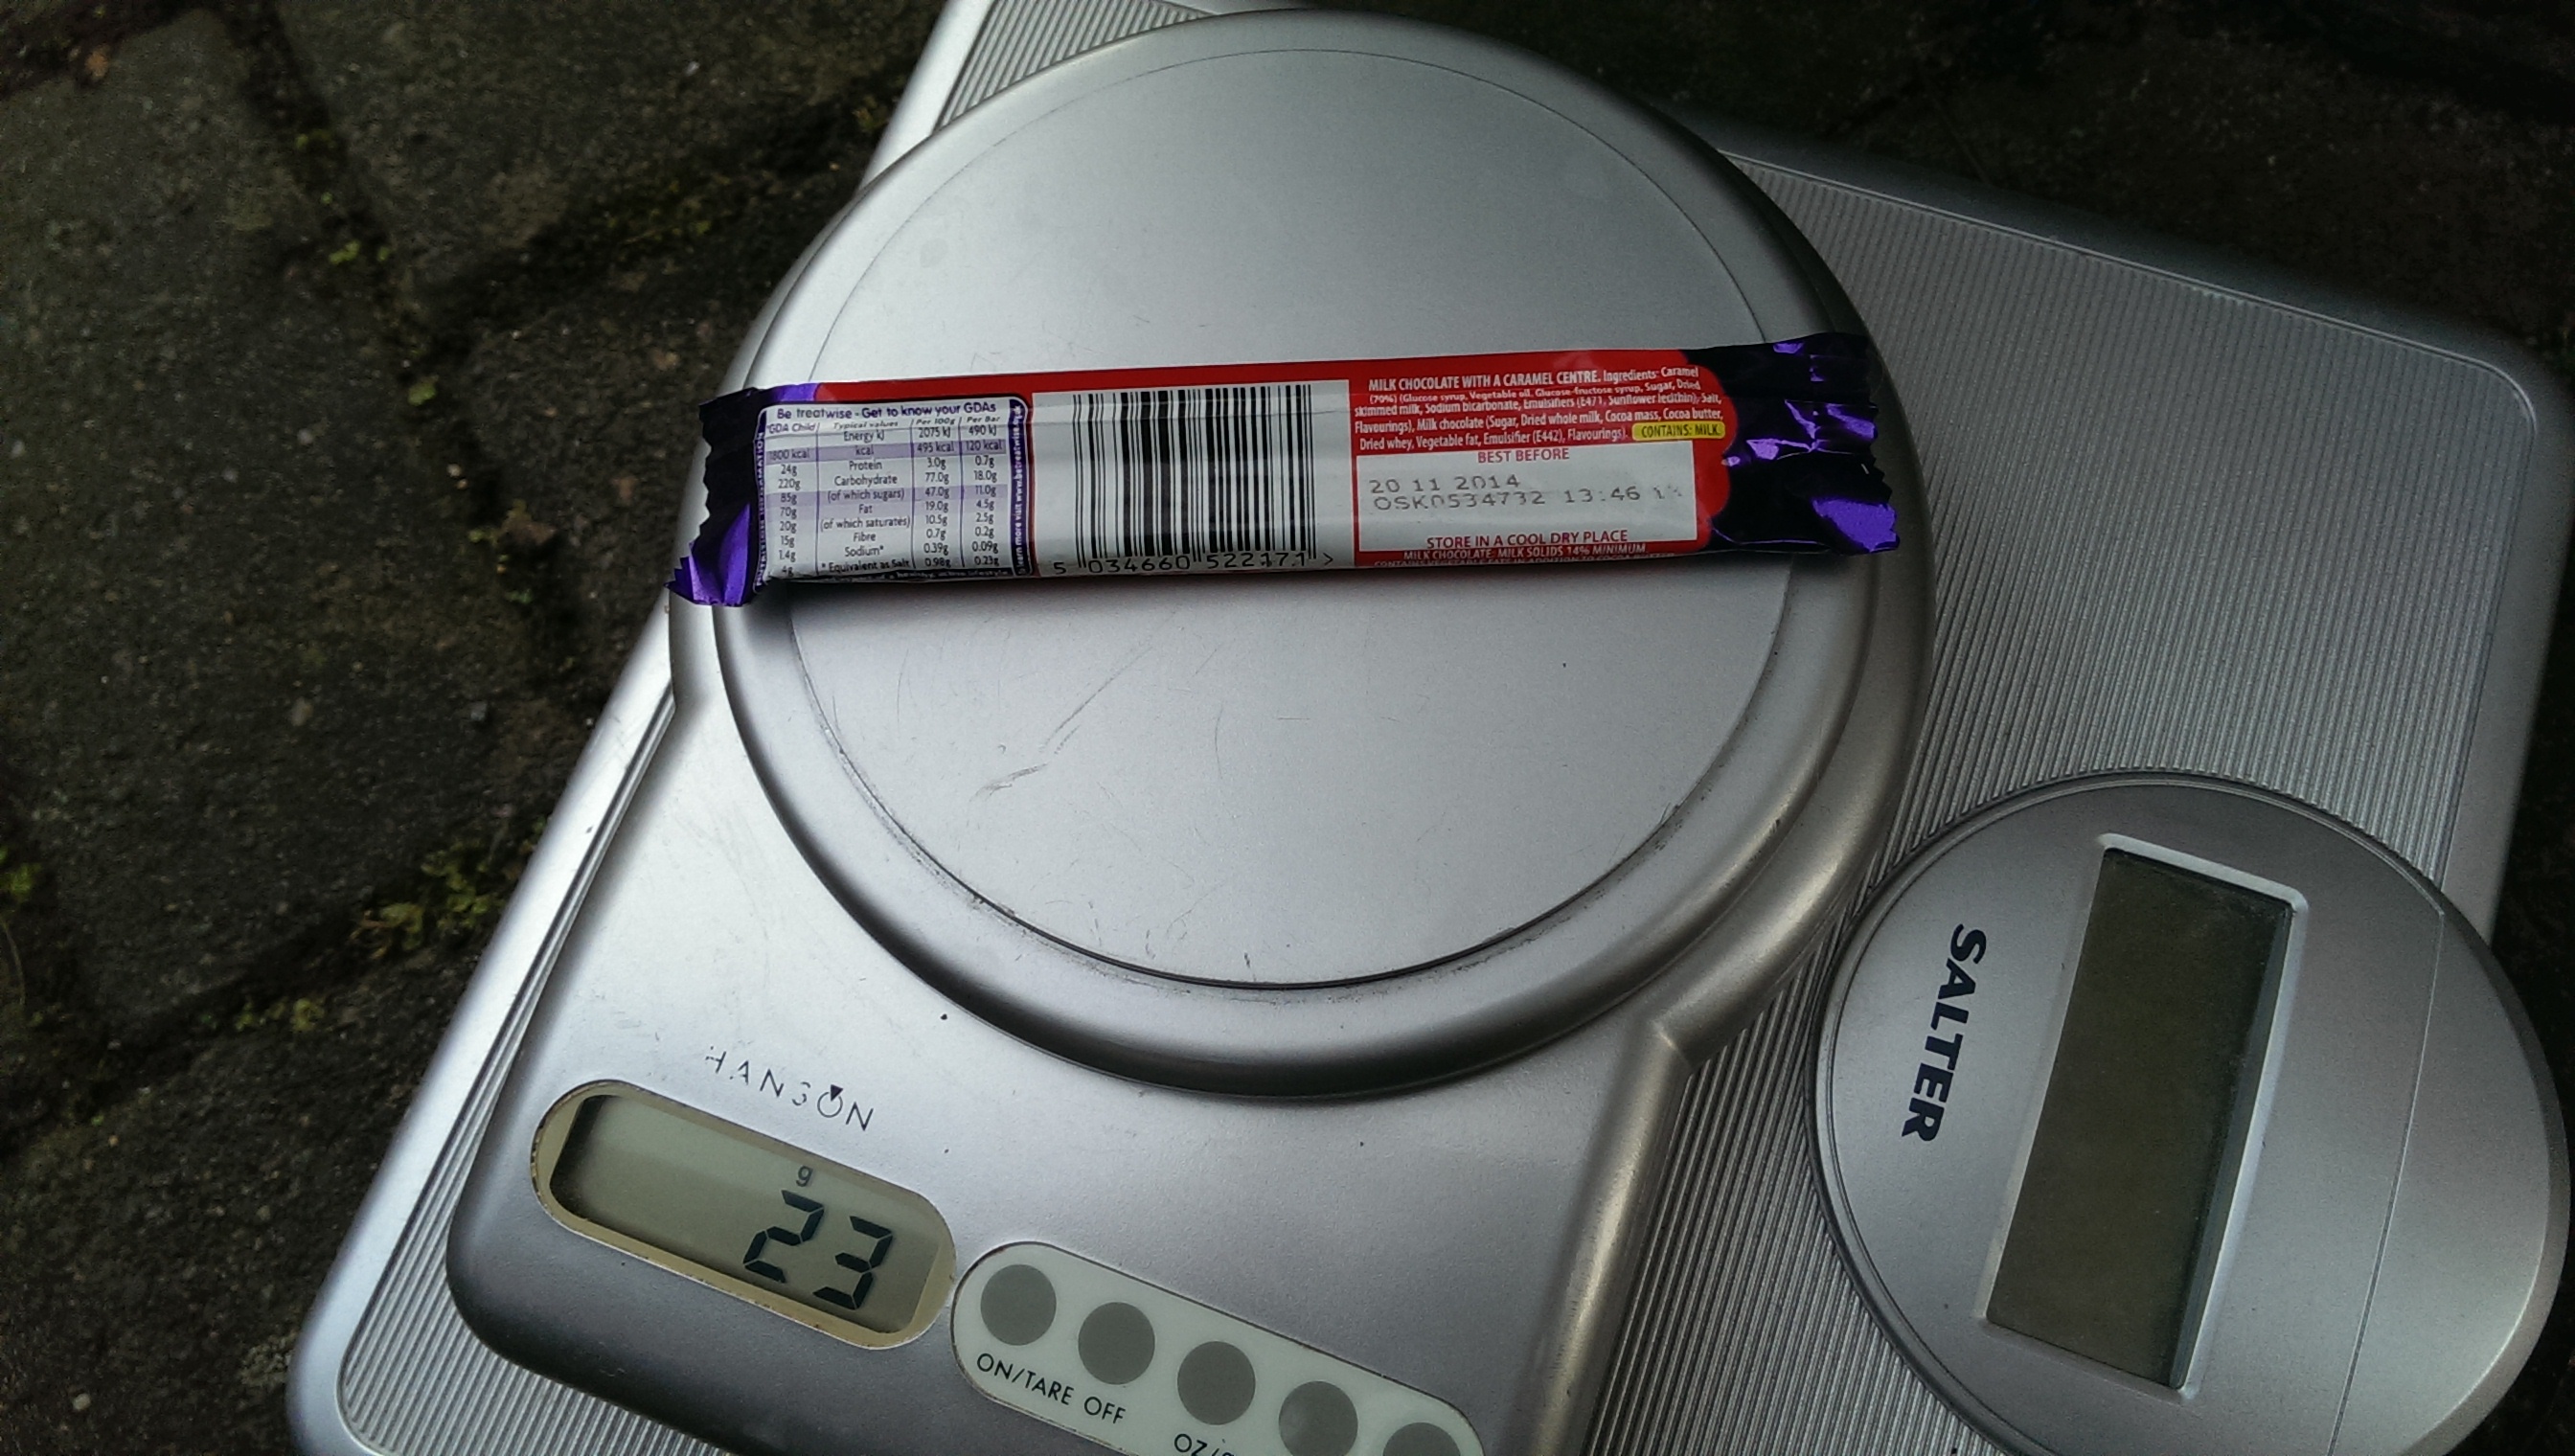
The Chomp bar was only a year out of date and seemed fine! The tally now stood at an amazing 152kg removed, with more to go when the 26kg leather driver’s seat gave way to a 10kg racing bucket seat. That gets the car down to 1145kg without fuel or driver, or once you put in 56kg of safey equipment, 1201kg. The factory power output is 190bhp, giving a power-to-weight ratio of 158bhp/ton – pretty much perfect against the limit for Roadsports Class D at 160bhp/ton.
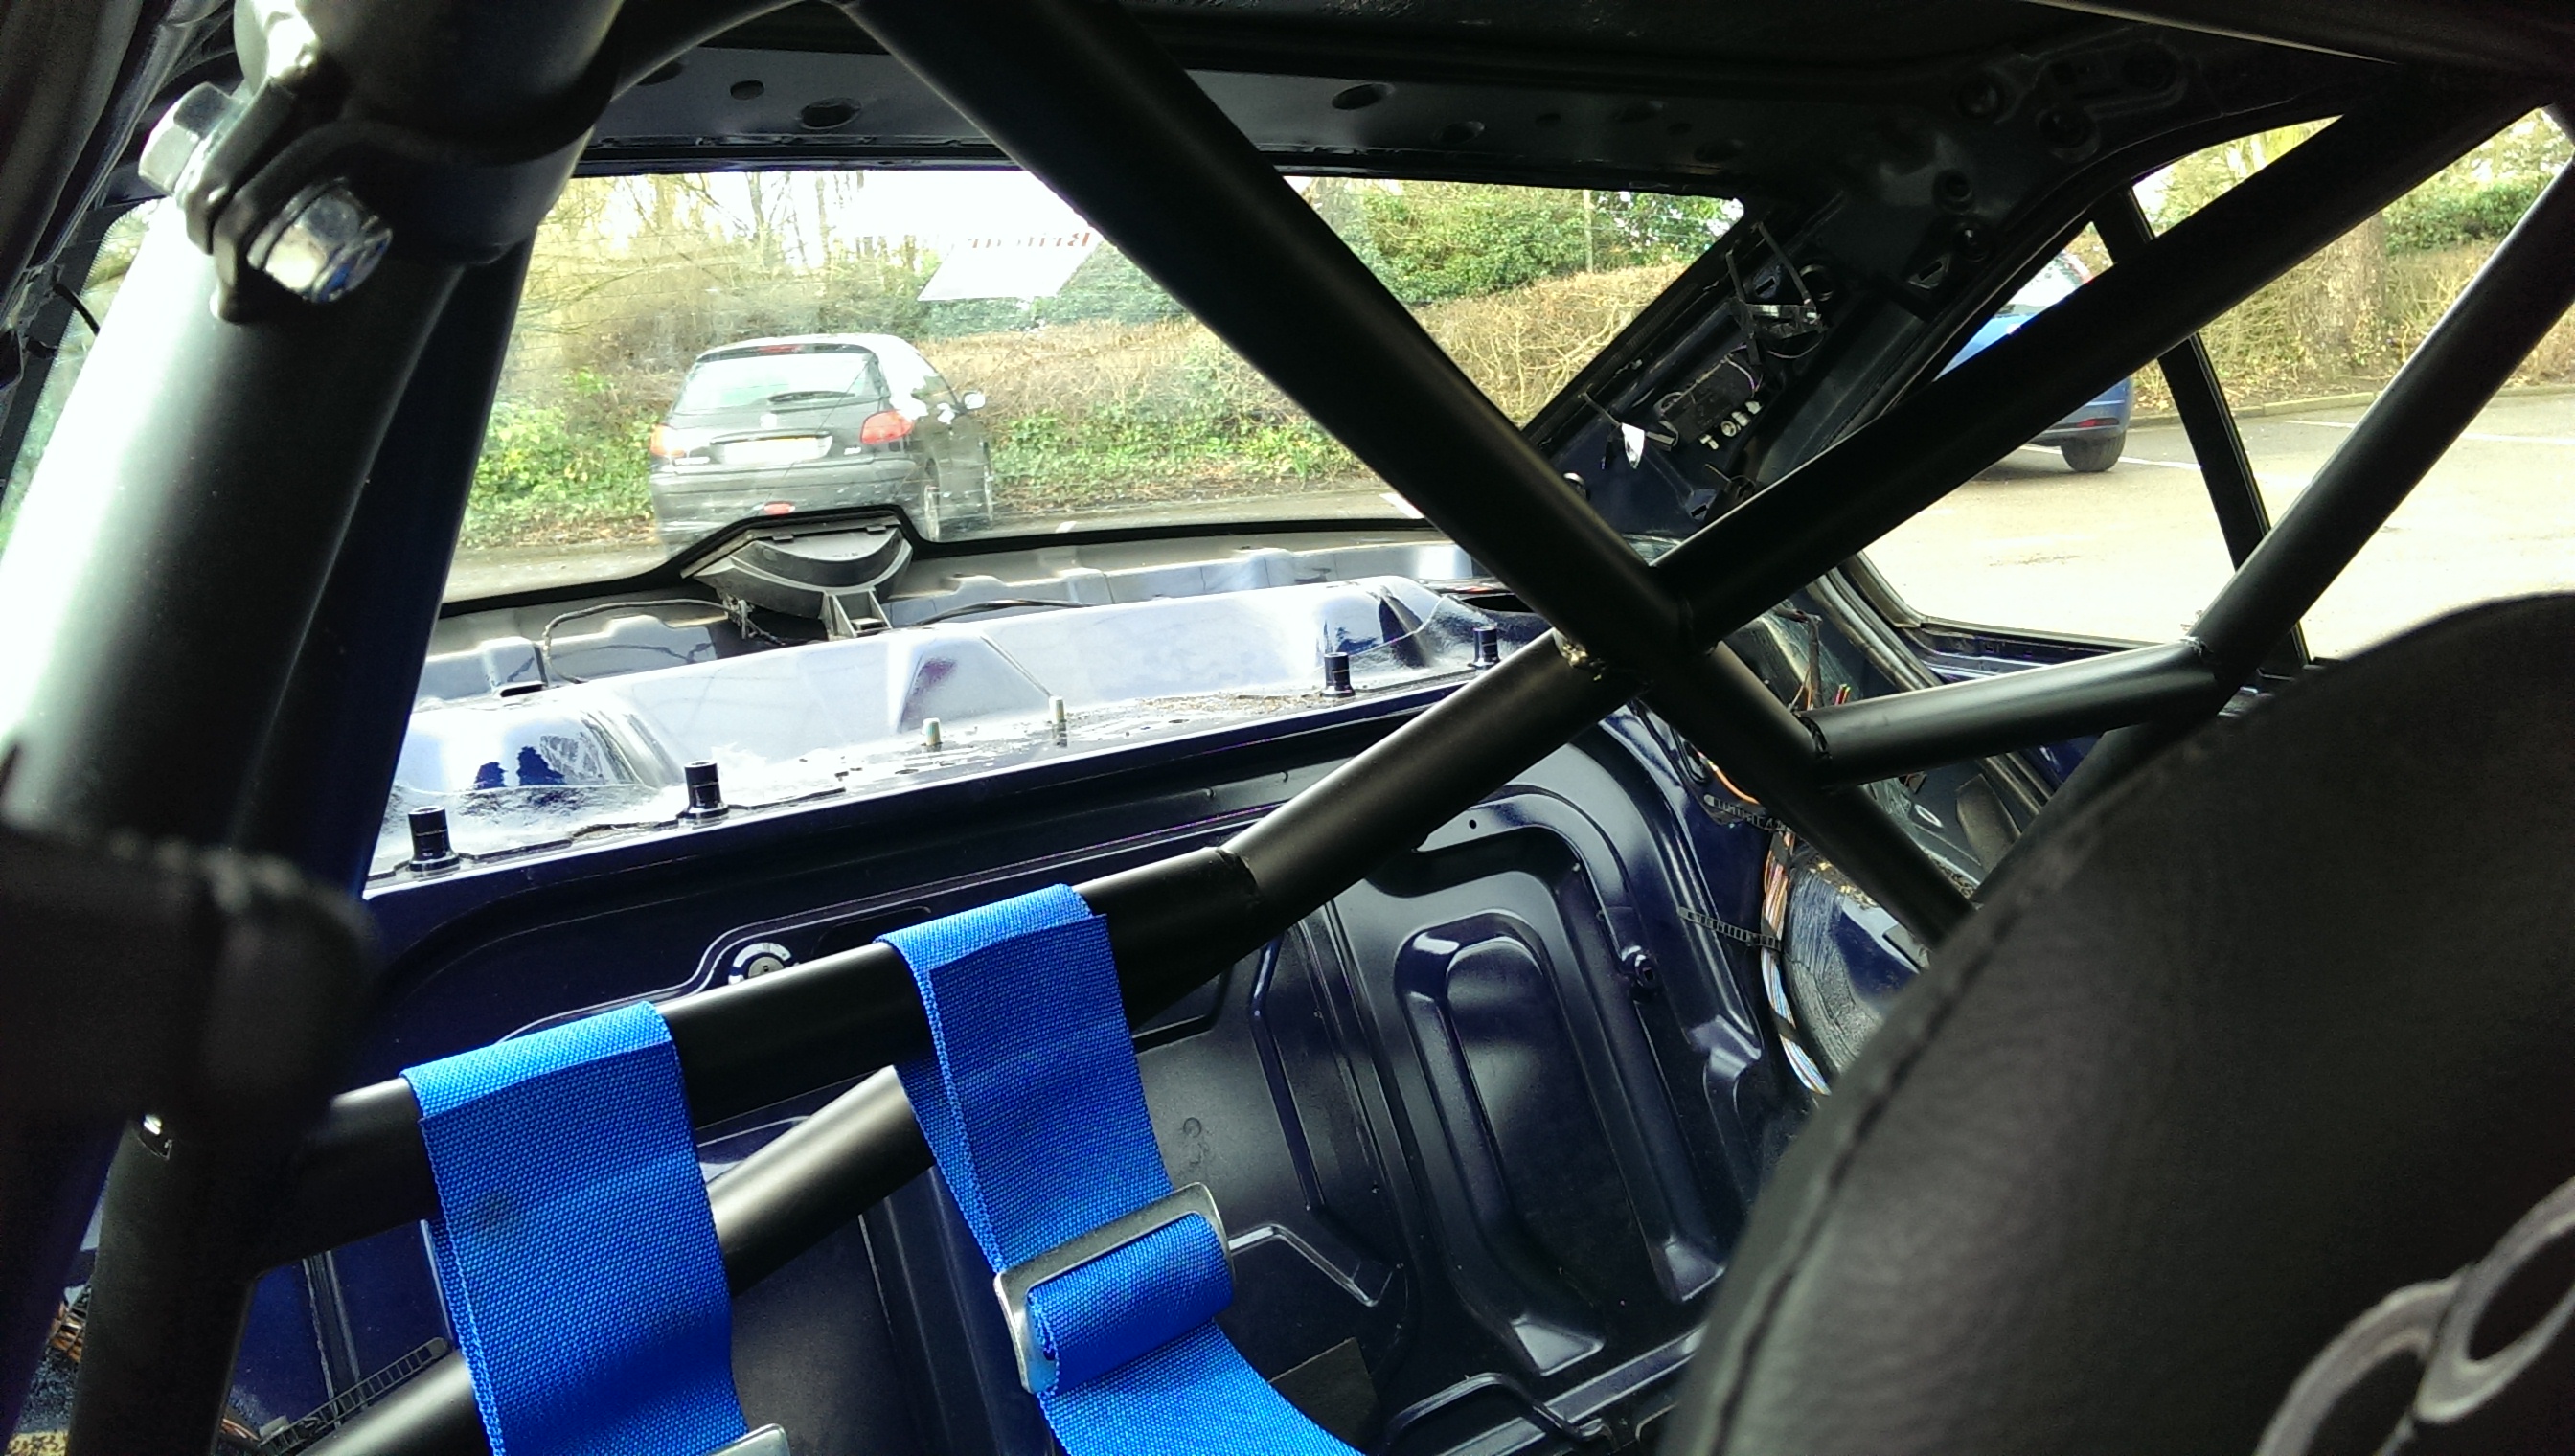
There are myriad choices when it comes to preparing a race car, and the most fundamental is the rollcage. These can range from a “bolt-in” cage that can be assembled in the car and only needs mounting feet and plates welding in, to a full “weld-in” solution which is a series of steel tubes all welded in situ. This needs the car completely stripped back, often with all the powertrain, wiring and glass removed, and the cost of installation work alone can be in the thousands. Whichever route you take, you are committing to the bodyshell, because while everything else can be easily transferred to a different donor car, a cage is usually a one-way trip. This was the real leap to commit to racing this car and no other.
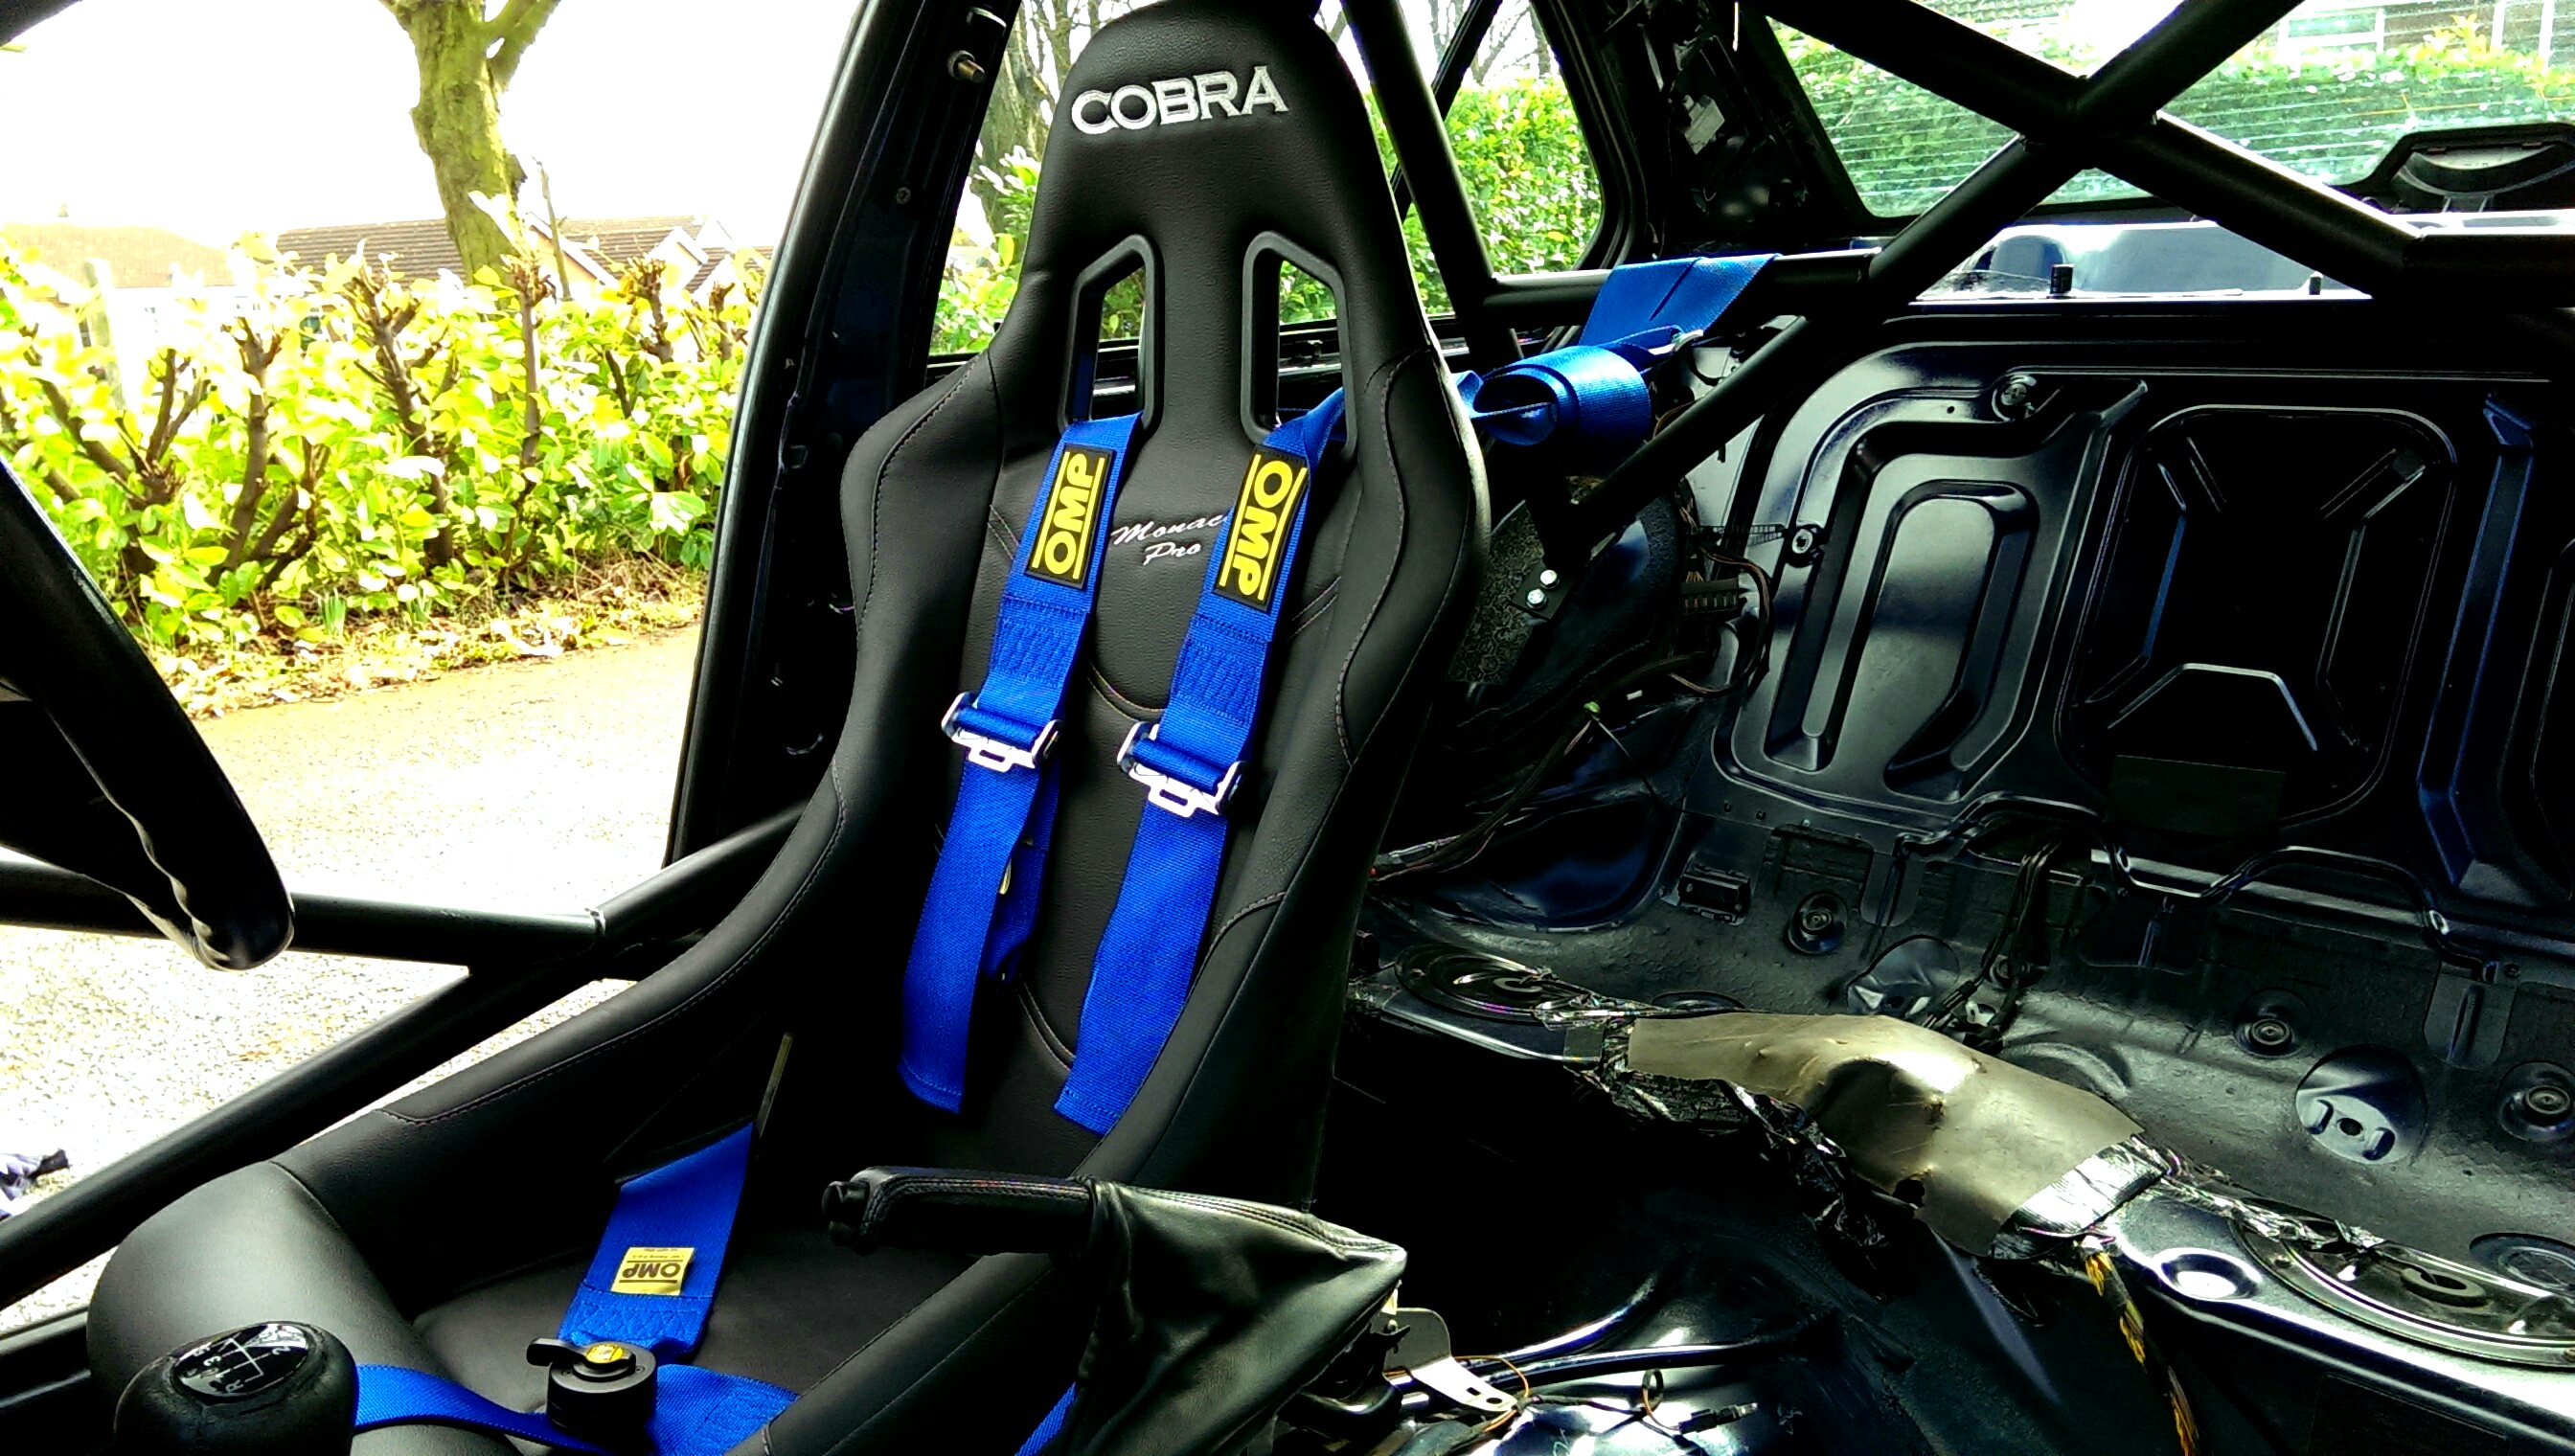
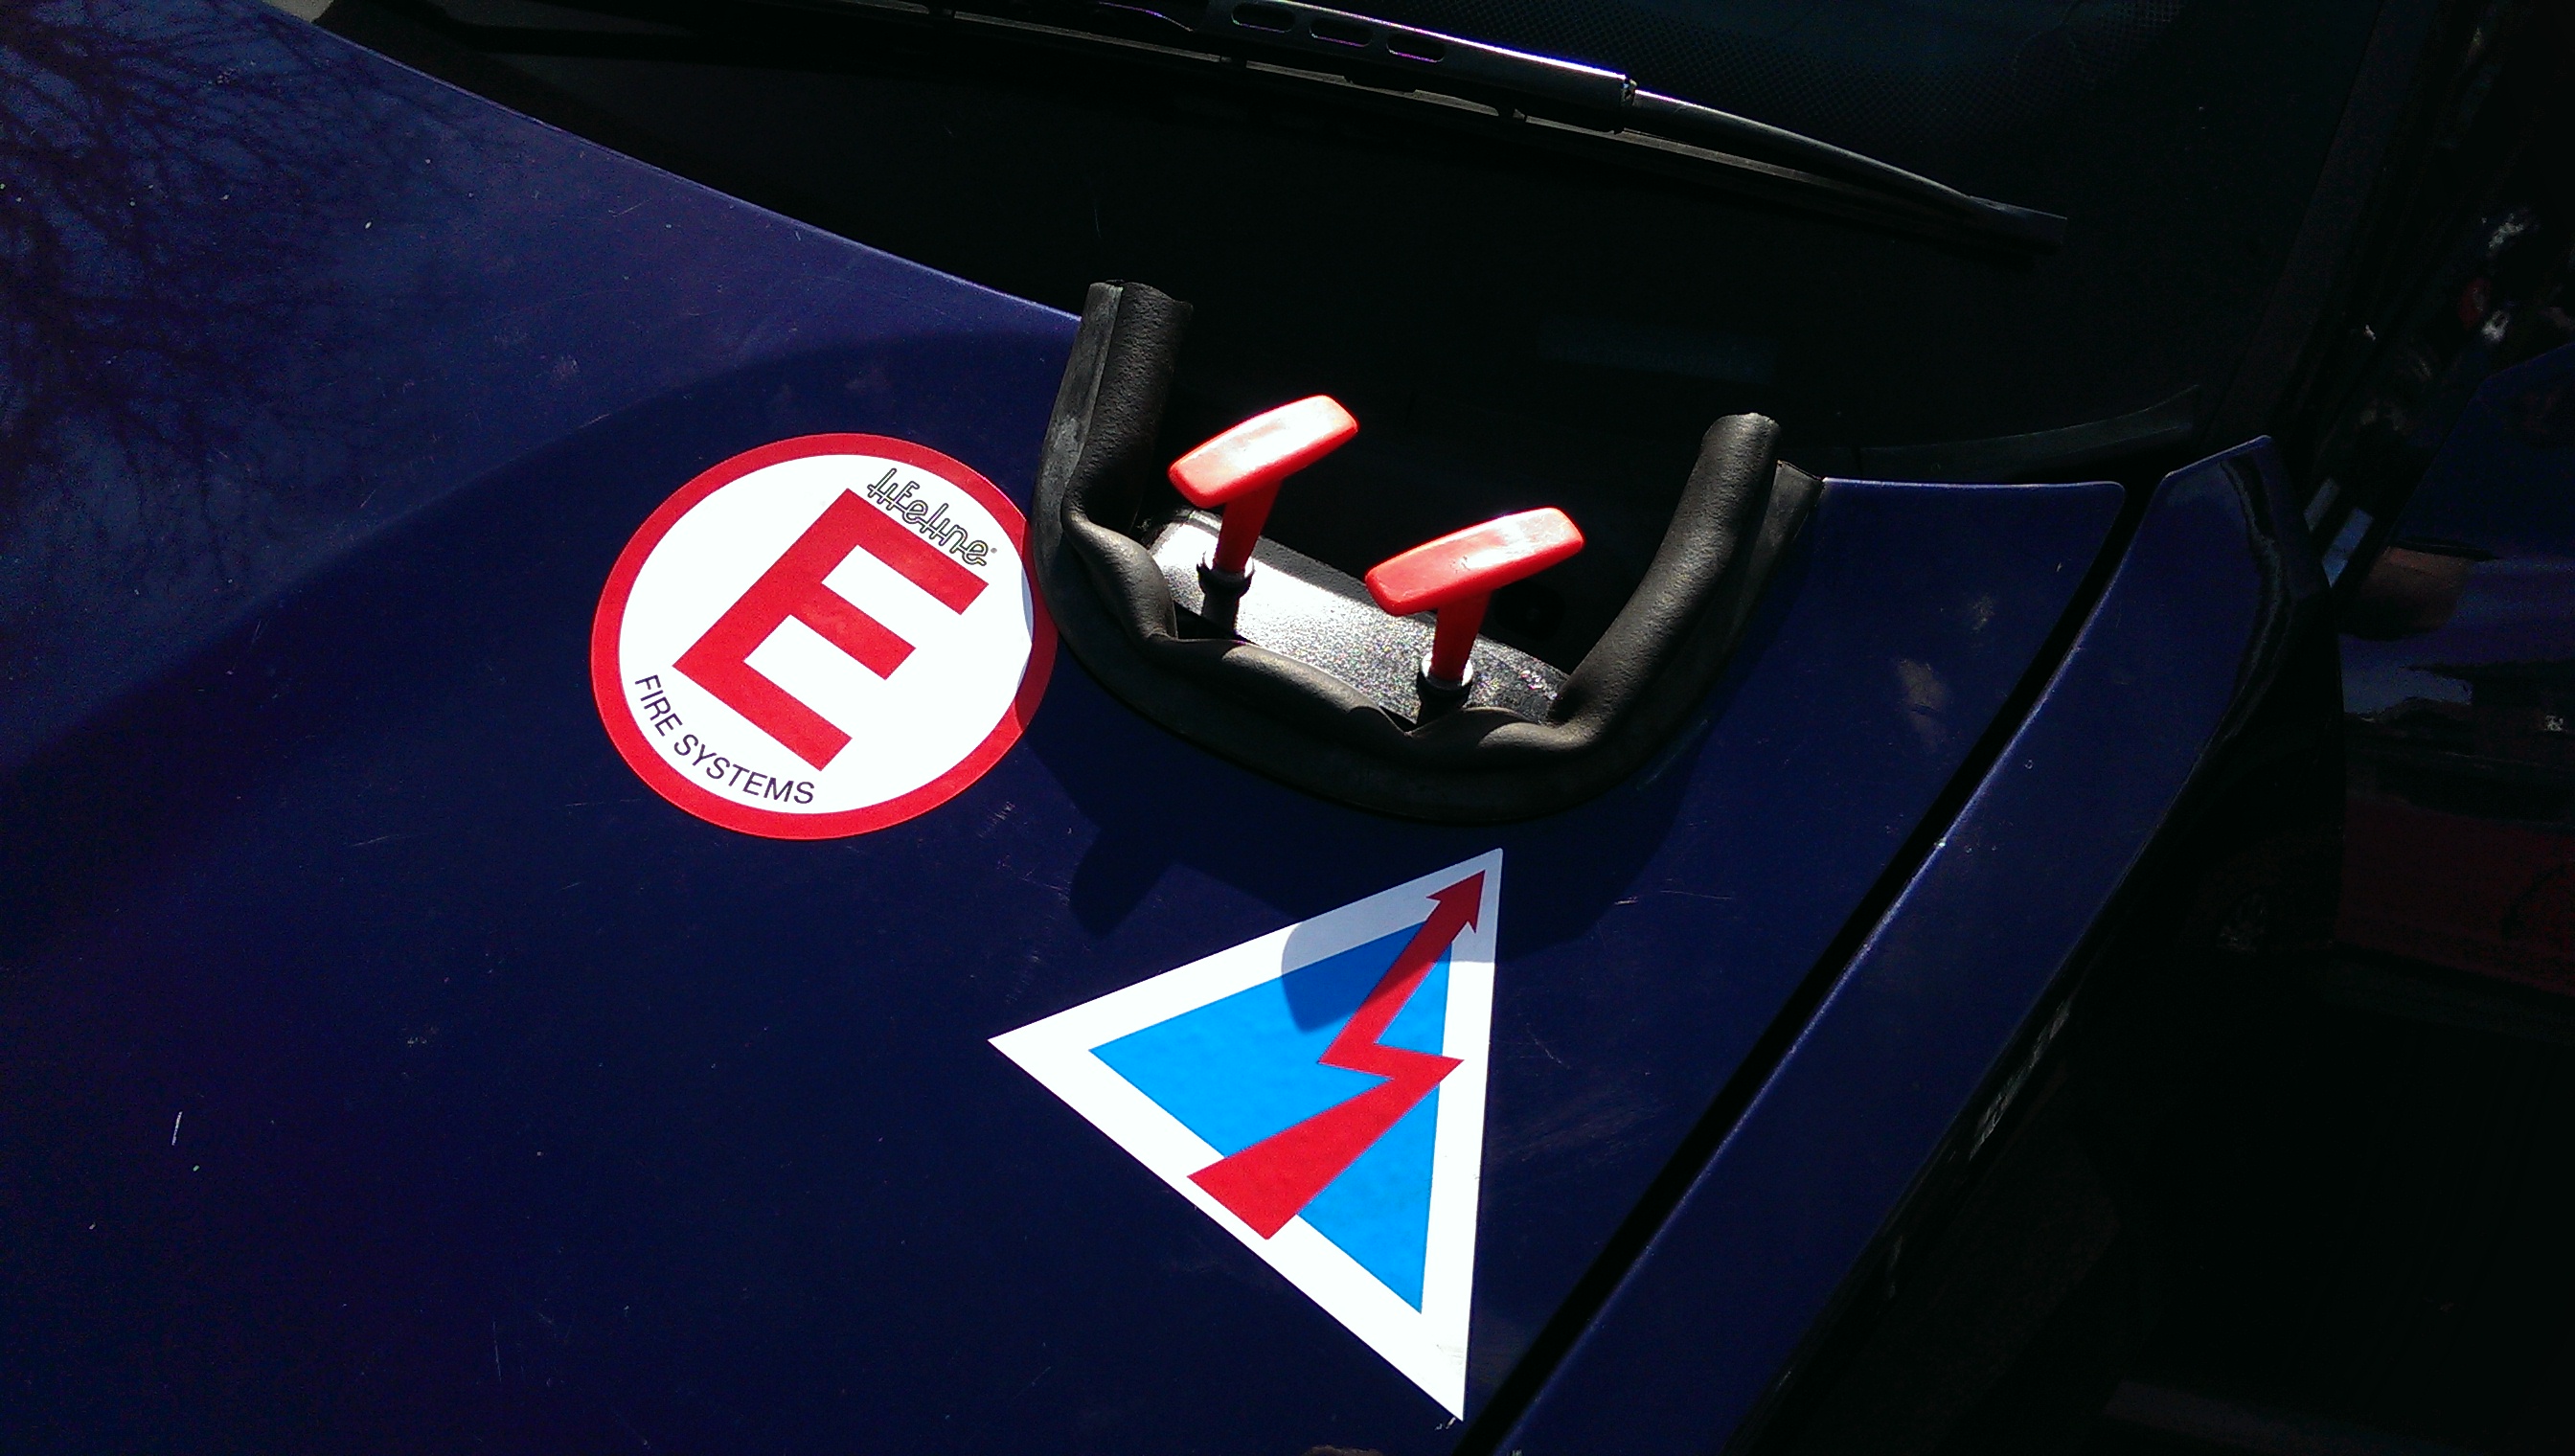
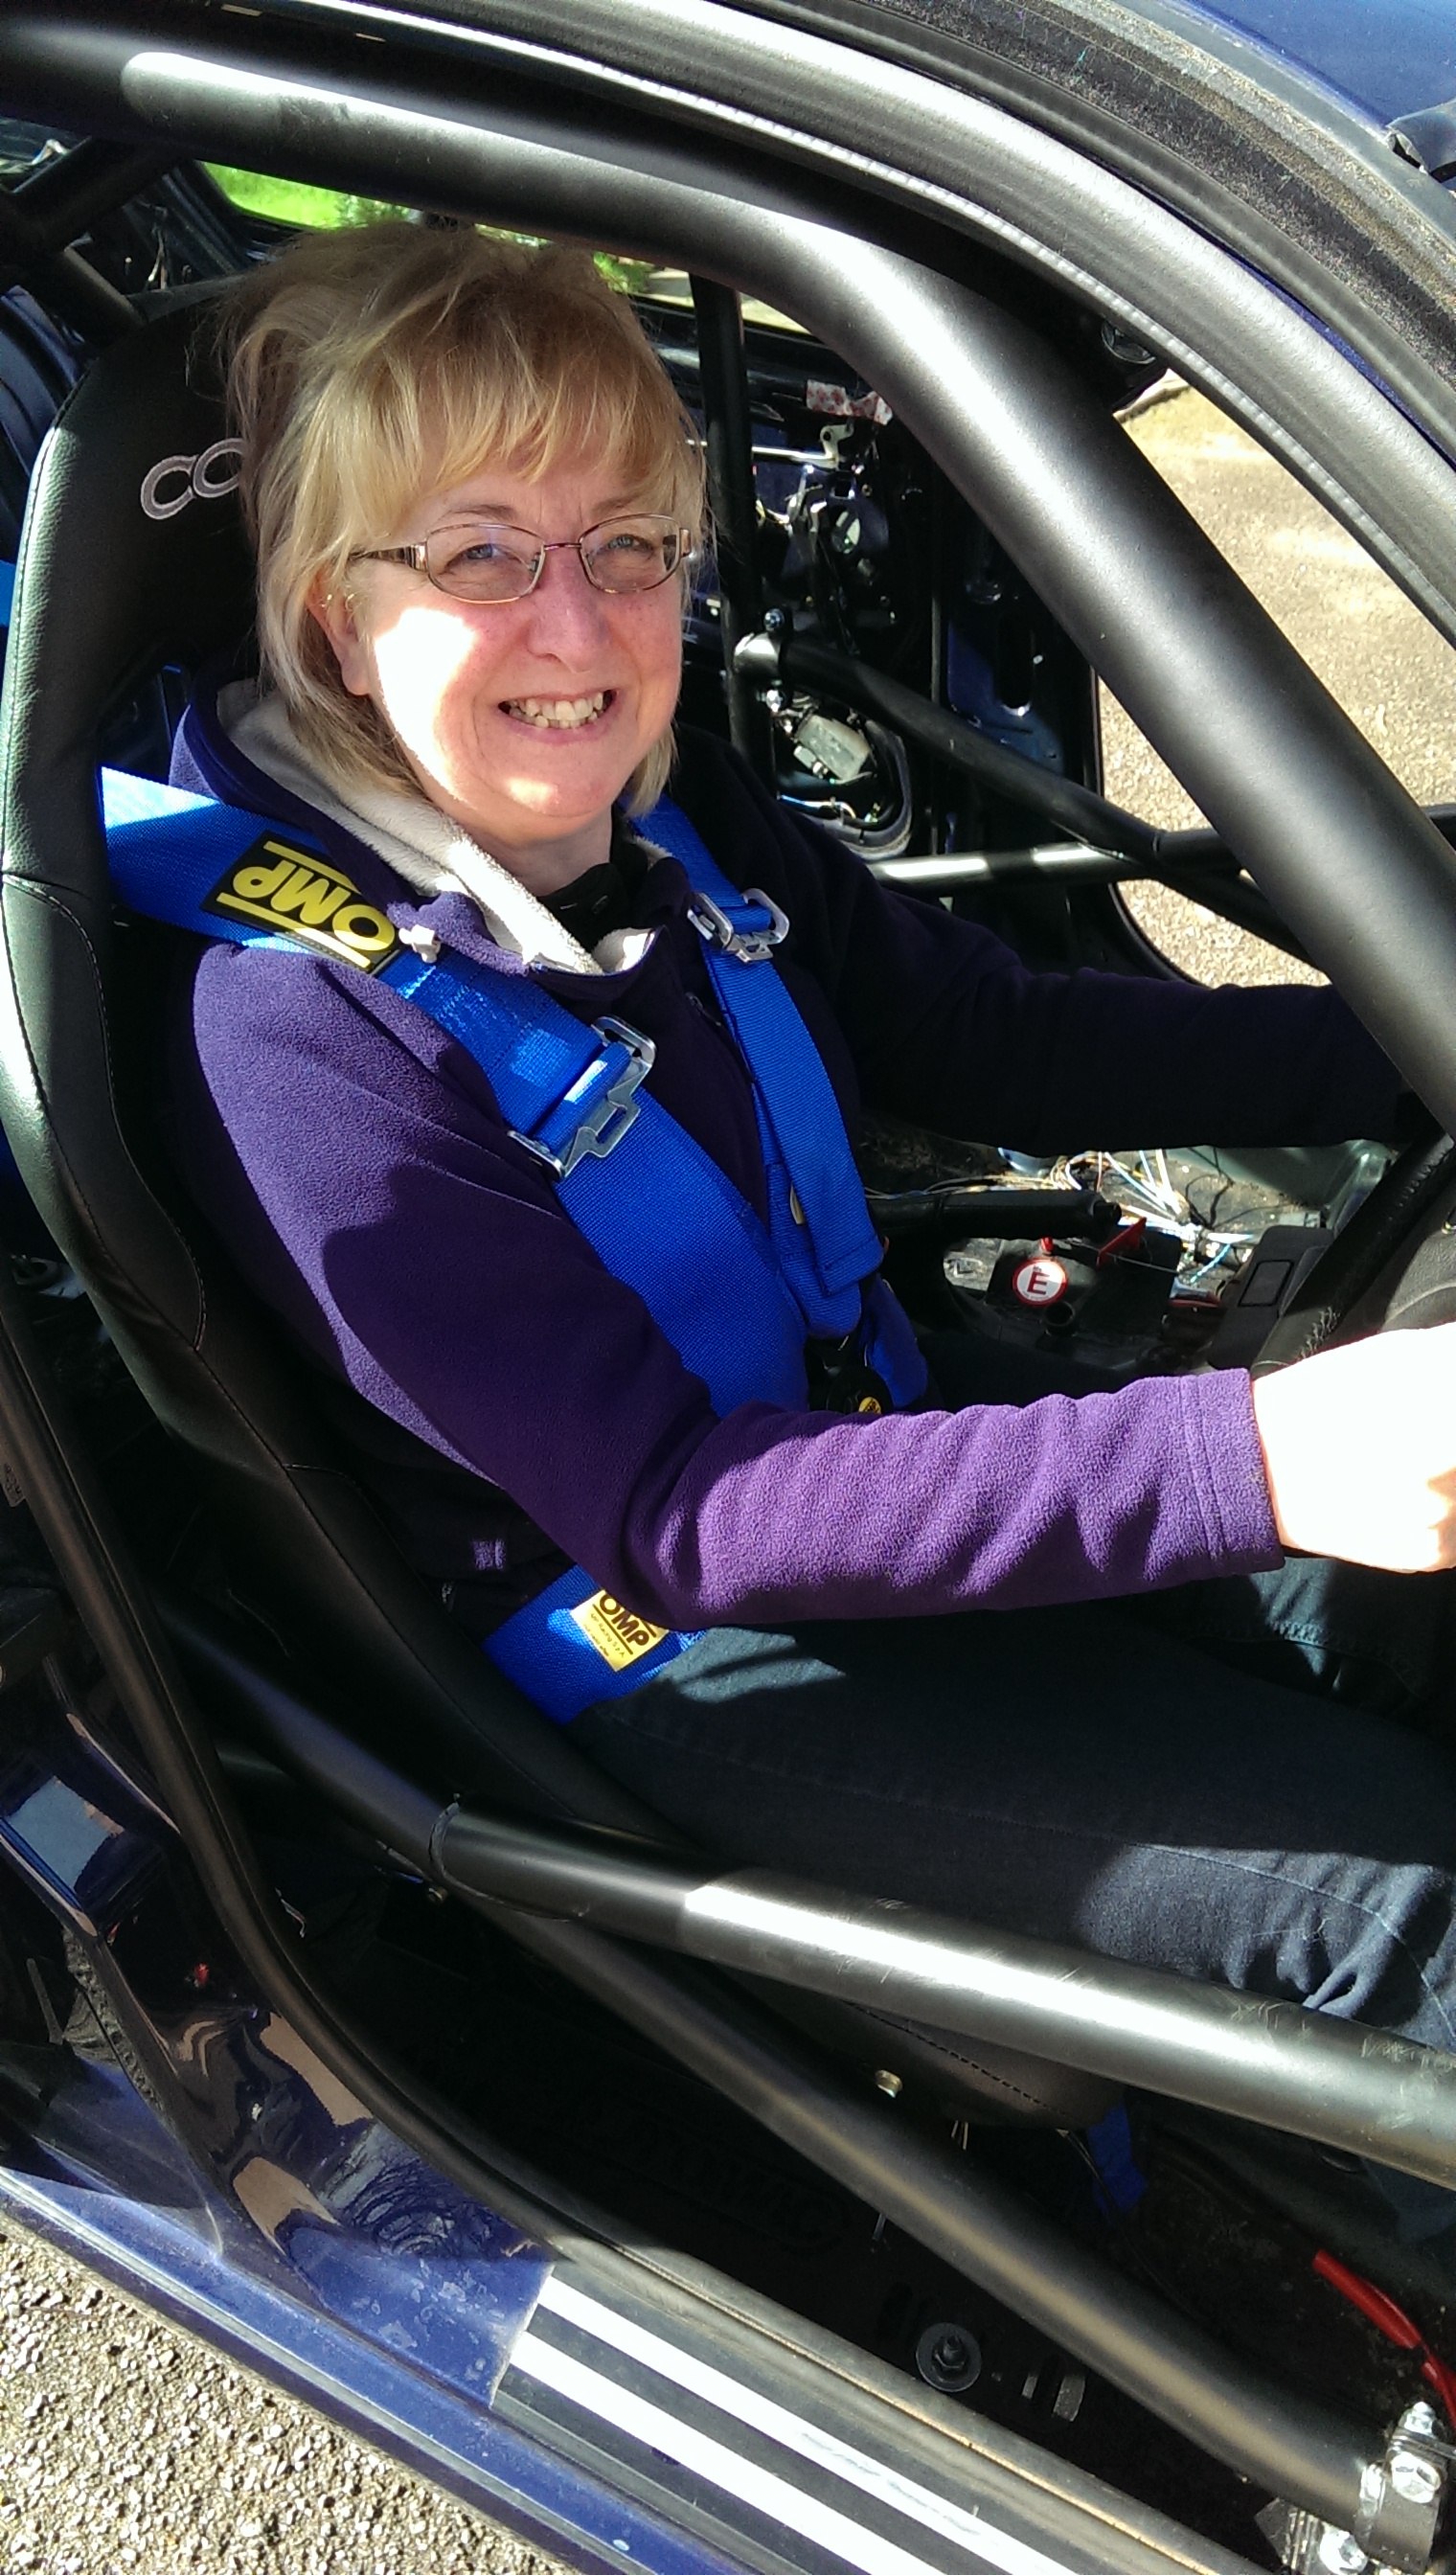
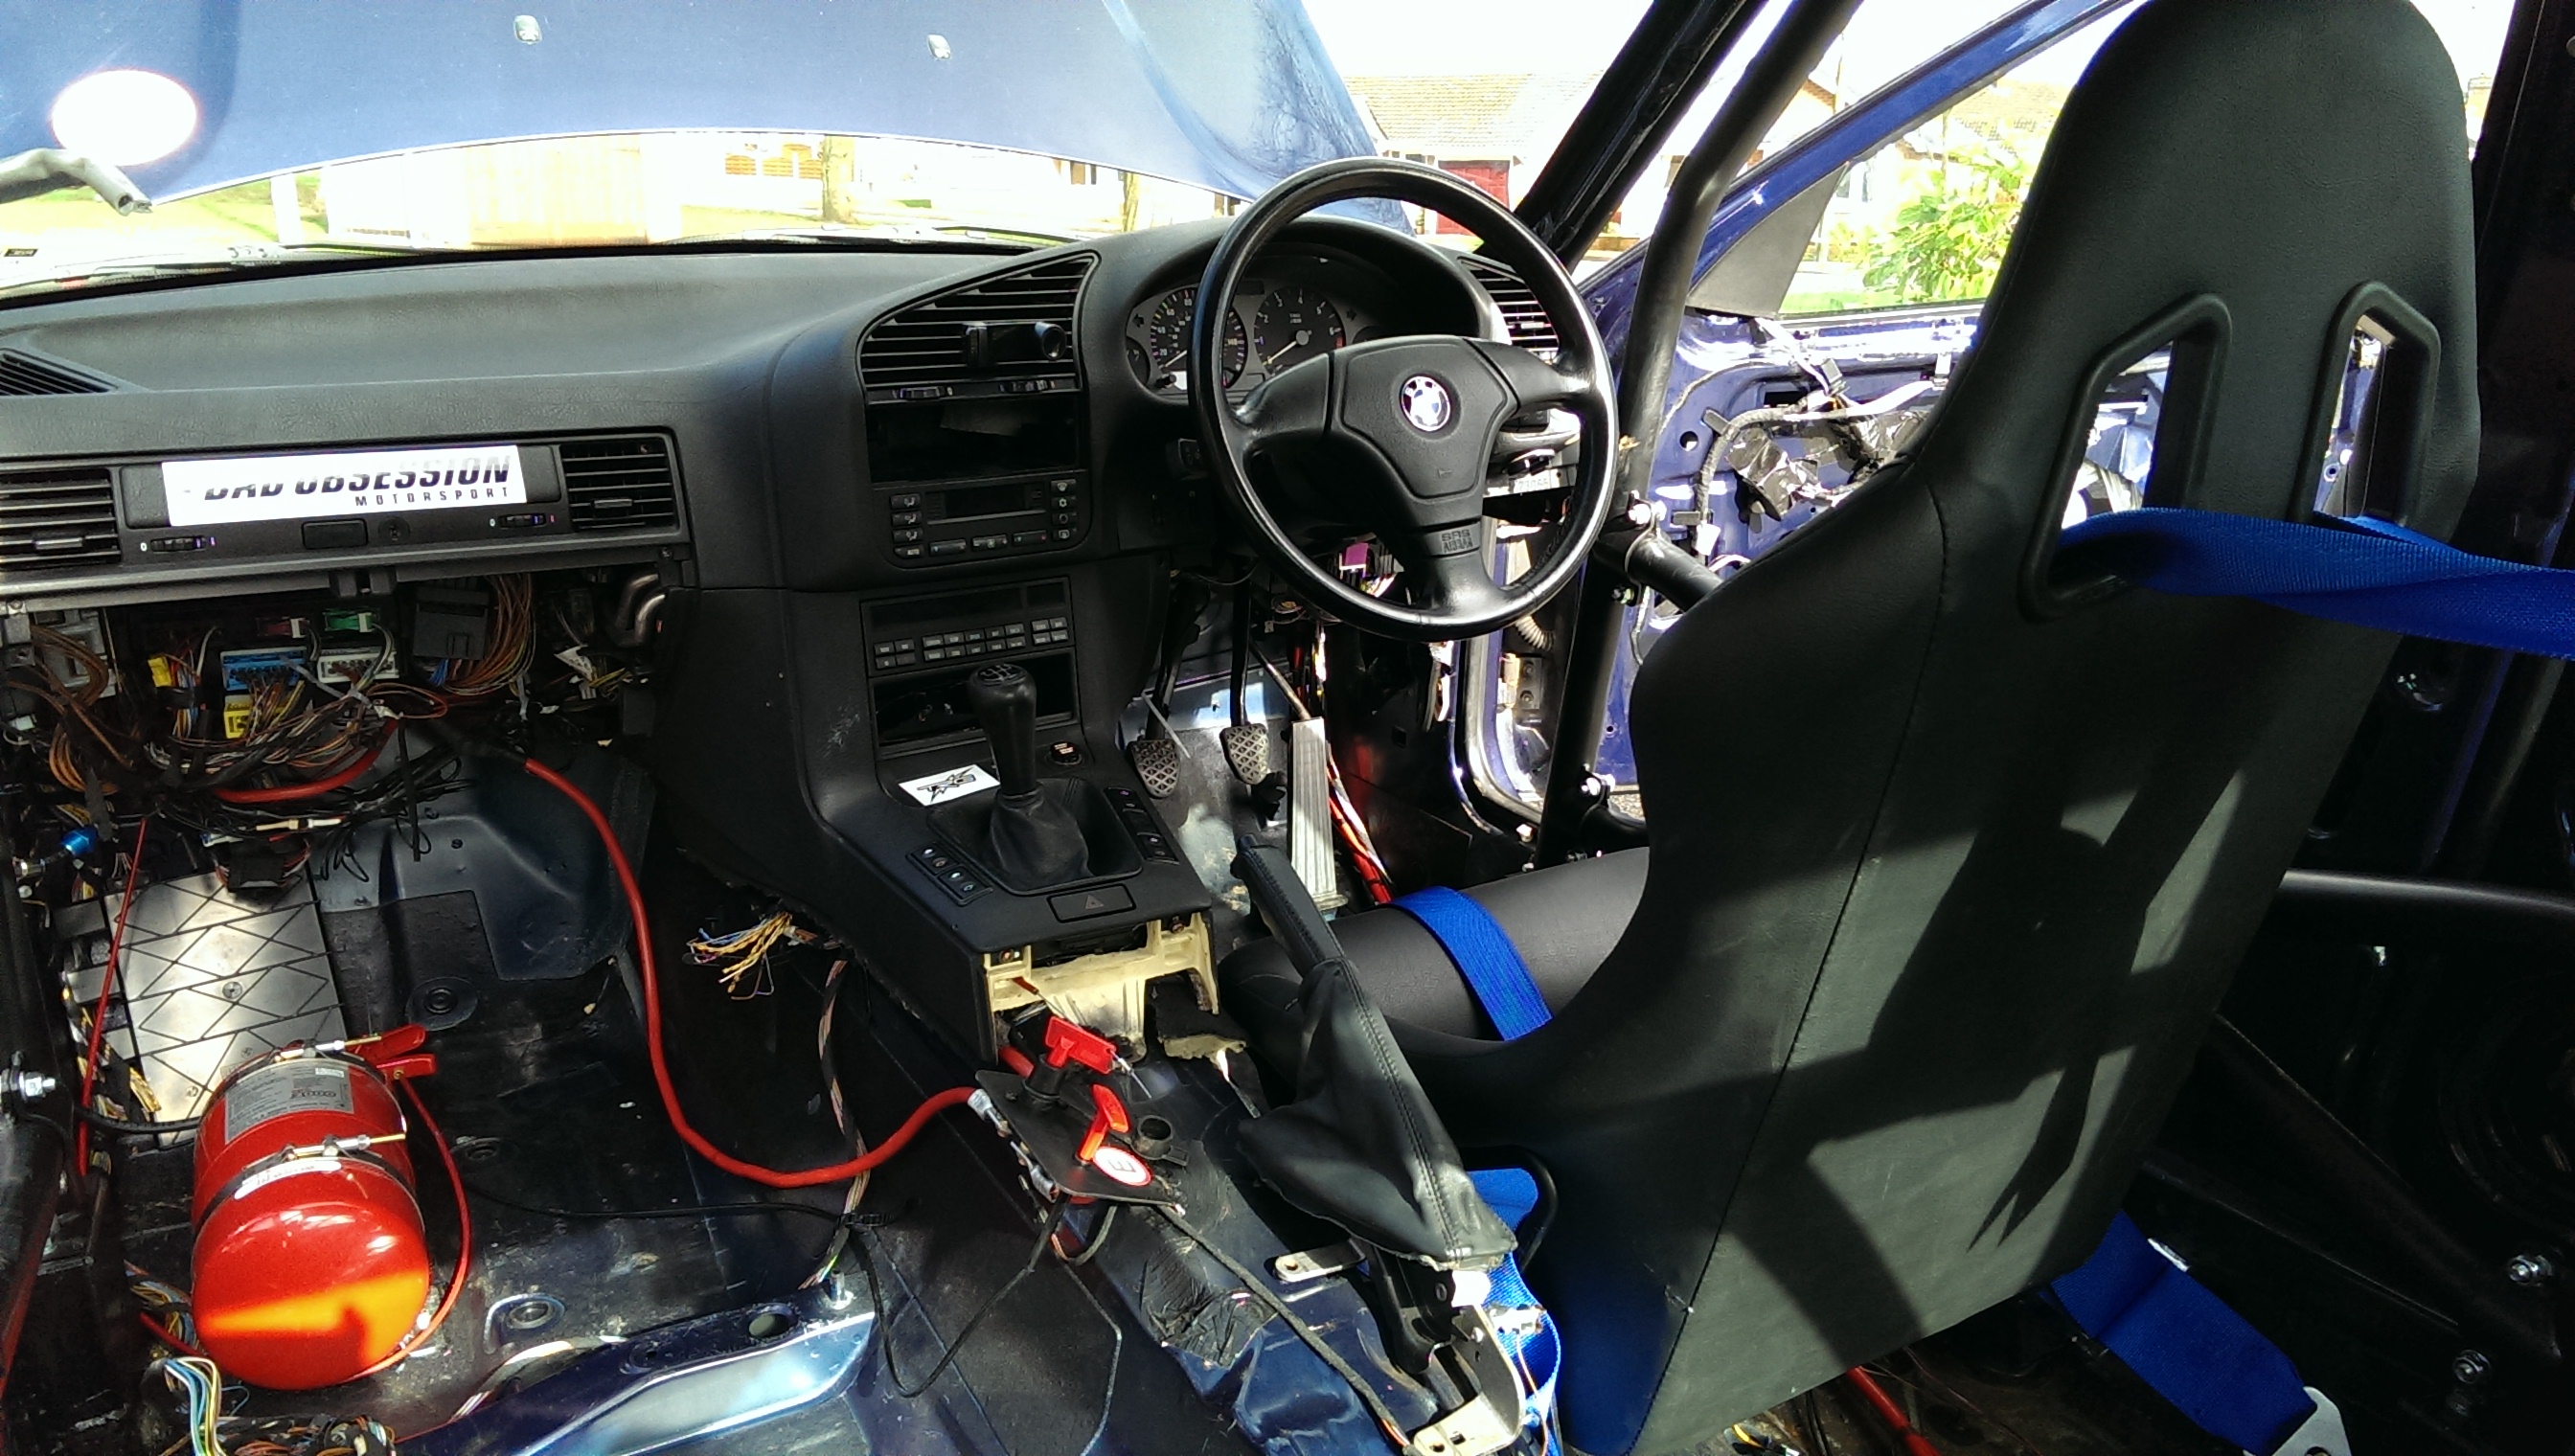
I chose a Safety Devices six-point bolt-in item, which was supplied and fitted by Neil McDonald of Automac. I also gave Neil a Lifeline 4L FIA-spec fire extinguisher to install and plumb in, OMP 802 six-point harnesses for the driver’s seat (a Cobra Monaco Pro which he also supplied), and a job list including an electric cut-off switch and bonnet pins to replace the normal latch mechanism. The last is required to make sure the bonnet can be opened from outside the car if necessary. So I handed over a stripped-out track day car, and a week later received a racing car…
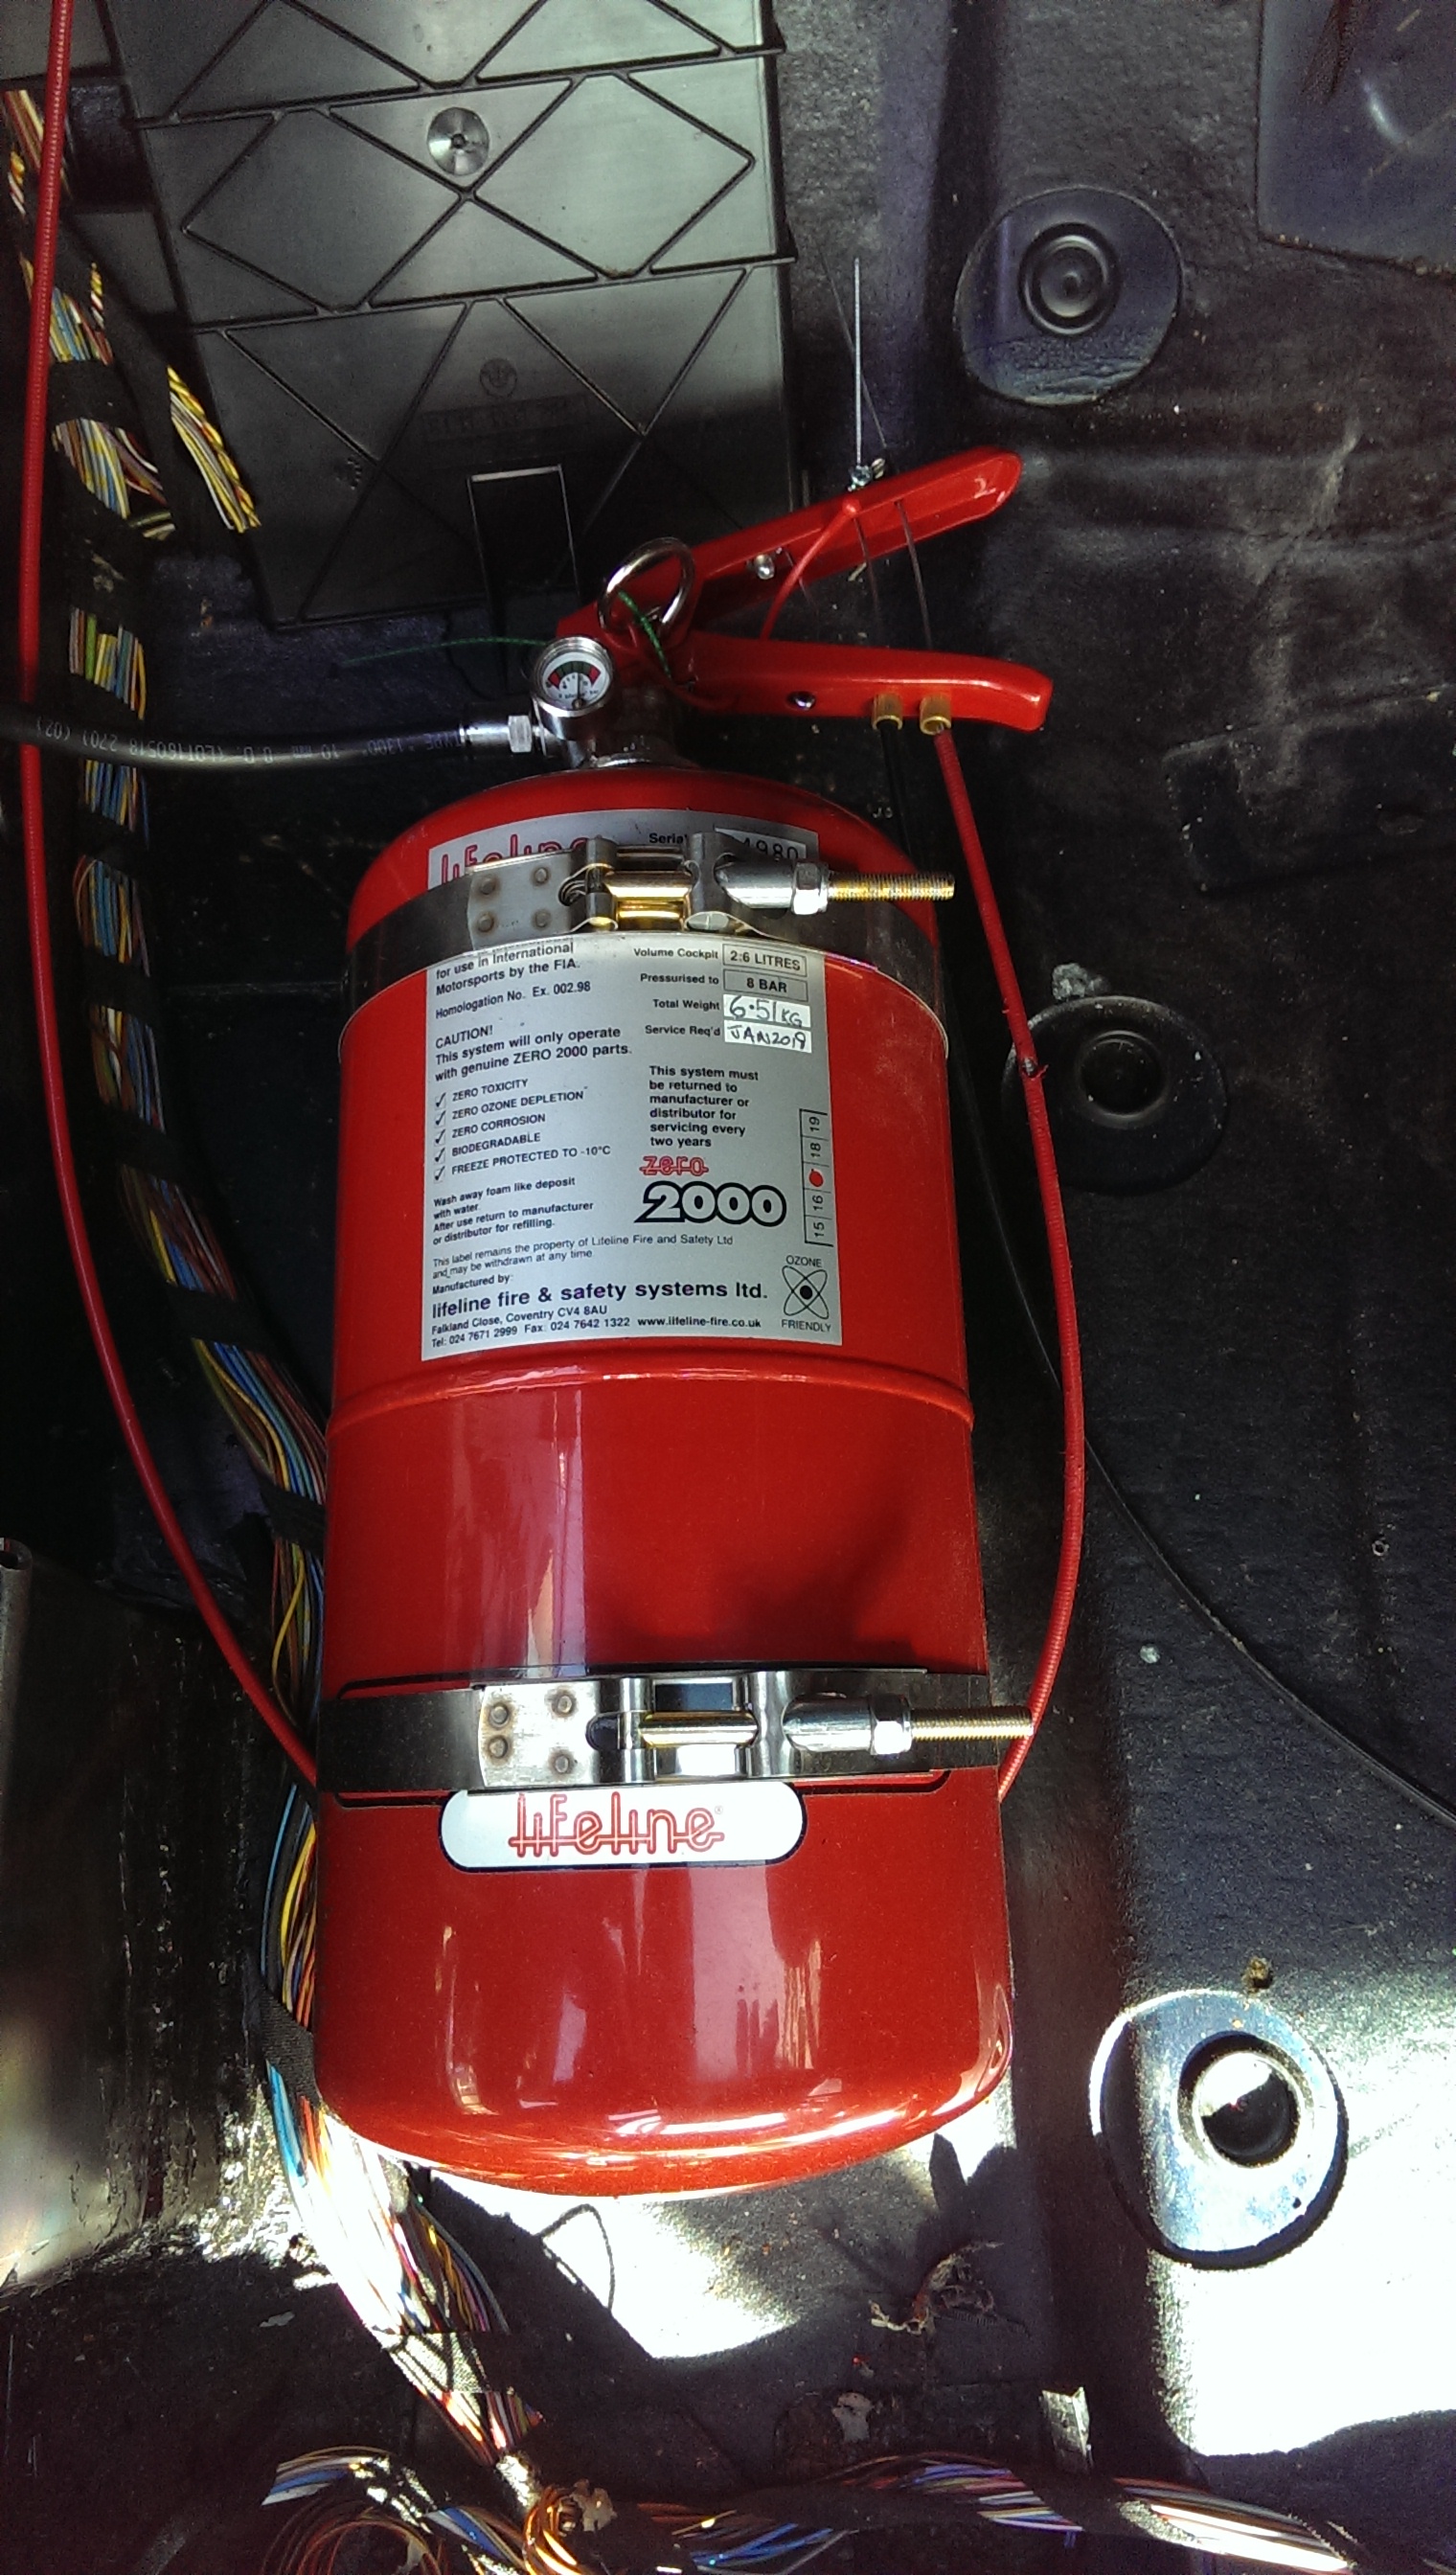
The final tally for this lot came to £2,519 including Neil’s work installing it all. With that, I had a car that needed only a few small tweaks to become a fully eligible racer. It could be done a little cheaper – I upgraded the fire extinguisher from the minimum 2.25L capacity, because I wanted to be able to feed nozzles on both sides of the cabin and engine bay. That lets me protect myself on the driver’s side as well as covering the electrical distribution behind the ex-glovebox, and in the engine bay cover the two main sources of fire – the exhaust on one side, and the intake and fuel rail on the other. I also upgraded the cage with cross diagonal door bars on both sides for improved side-impact protection, and a cross rear bar to aid stiffness and protect better in a rollover. I was more than happy spending an extra £250 for the improved safety these gave me.
Now it finally started to feel real – in one step change, the car became massively committed, with everything from the view of rollbars in the mirrors to the act of getting into it feeling special. Now it seemed like we had really taken a big jump. I was nervous about taking the car out on track again, as time would be very limited to fix any issues before the first race and so much had been changed, but the excitement kept the momentum going. Anyone who sat in it felt like a racing driver!
Speaking of that, if you’re to go racing, you need a licence. So that’s next on the list…
Sam